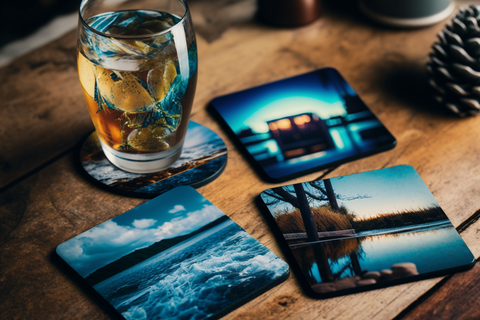
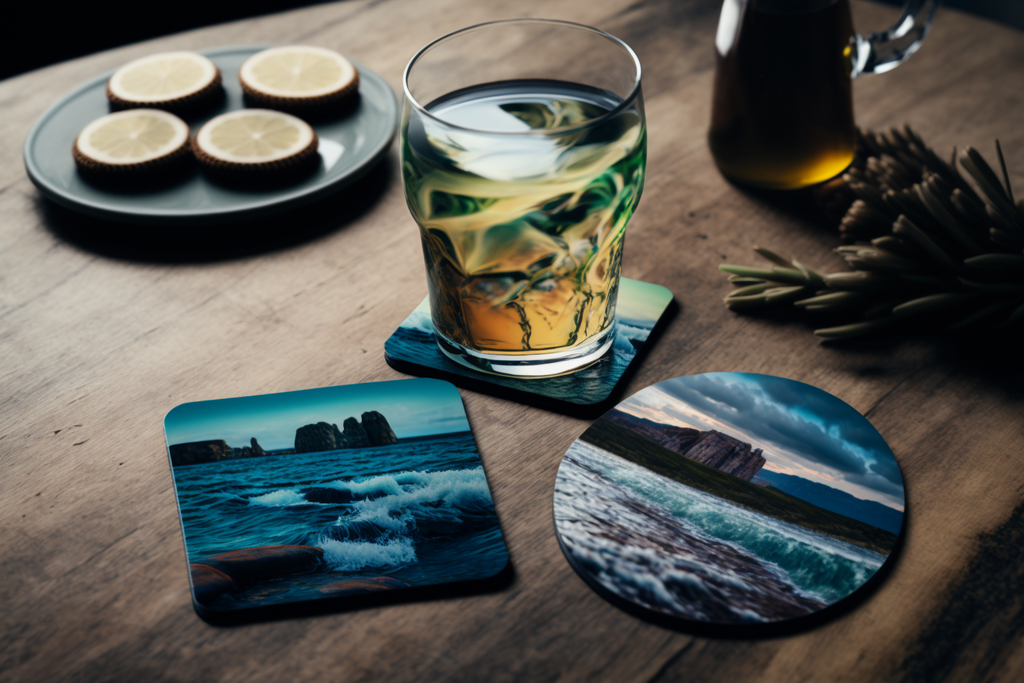
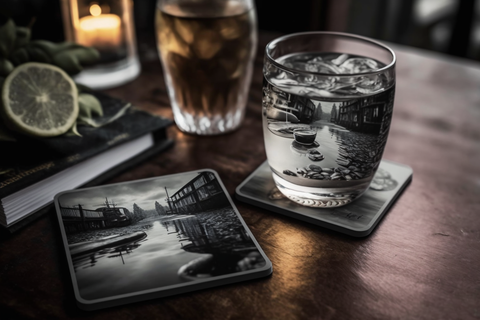
If you’re looking for a fun and easy project to make with pictures, you’ve come to the right place. This tutorial will show you how to make coasters with pictures using mod podge and tile coasters. You can use any type of picture that you like, but we recommend using pictures that are glossy or have a lot of colors. This project is a good way to use up old photographs or scrapbook paper.
It’s also a great gift idea for friends and family.
What Do You Need for Making DIY Photo Coasters?
There are a few things you will need to make coasters with pictures.
First, you will need a coaster mold. You can find these online or at your local craft store.
Second, you will need resin. Resin is what will give your coasters a nice, smooth finish.
Third, you will need pictures. Make sure to choose pictures that are glossy and have a lot of colors.

Fourth, you will need a mixing cup and a stir stick.
Fifth, you will need gloves and a dust mask.
Now that you have all your supplies, you are ready to start!
How to Make the Photo Coasters Step by Step
If you want to make coasters with pictures, here's how to do it:
- Gather your materials. You'll need some corkboard, mod podge, scissors, and pictures.
- Cut your pictures into small squares.
- Apply a layer of mod podge to the back of each square.
- Stick the squares onto the corkboard.
- Apply another layer of mod podge over the top of the pictures.
- Let the coasters dry overnight.
- Enjoy your new coasters!
How Do You Make Coasters Out of Tiles With Pictures?
Making coasters out of tiles with pictures is a great way to add a personal touch to your home décor. Tiles are a durable material that can withstand the wear and tear of everyday use, making them an ideal choice for coasters.

Plus, using pictures adds a personal touch that you can’t get with store-bought coasters. If you’re looking for a fun and easy project to add a personal touch to your home, follow these steps to make coasters out of tiles with pictures. To make coasters out of tiles with pictures, you will need:
- 4 square tiles
- Mod Podge
- Sponge brush
- 4 cork coasters
- Scissors
Steps:
1. Begin by selecting four square tiles that coordinate well together. You can find these at most craft stores.
2. Next, using a sponge brush, apply a layer of mod podge to the back of each tile. Then, place the tiles face down on a protected surface.
3. Once the mod podge has dried, flip the tiles over and apply another layer to the top. This will help to seal the design.
4. Next, using scissors, cut each cork coaster to fit snugly inside the tile. You may need to trim the edges a bit to get a perfect fit.
5. Finally, apply one last layer of mod podge to the top of each coaster. This will help to protect the design and make the coaster waterproof.
How to Make Wooden Coasters With Pictures?
To make wooden drink coasters with pictures, you will need:
Mod Podge
Sponge brush
Scrapbook paper
X-acto knife
First, select the scrapbook paper you would like to use for your coasters. Cut out four equal-sized pieces using an X-acto knife. Next, apply a layer of mod podge to the top of one wooden coaster using a sponge brush.
Carefully place one piece of scrapbook paper on top of the mod podge, and smooth out any bubbles. Repeat this process for the remaining three coasters.
Let the coasters dry for at least 30 minutes. Once they are dry, you can apply a second layer of mod podge over the top of the paper to seal it. Your wooden coasters with pictures are now complete!
Summary
If you want to make coasters with pictures, you'll need to gather a few supplies first. You'll need some corkboard, mod podge, a foam brush, and of course, some pictures. Once you have your supplies, you'll need to cut your pictures to fit the corkboard. Once your pictures are cut to size, you'll brush a layer of mod podge onto the corkboard and then place your pictures on top. Be sure to smooth out any bubbles as you go. After your pictures are in place, you'll brush another layer of mod podge over the top. Allow your coasters to dry overnight and then enjoy!
Questions and Answers
How do you put pictures on coasters?
There are a few different ways that you can put pictures on coasters. One way is to use a decal. Decals are thin pieces of paper or vinyl that have a design or image on them. You can apply them to the coaster and then seal them with a clear coat of polyurethane or mod podge. Another way is to use transfer paper. With transfer paper, you can print an image onto the paper and then use heat to transfer the image onto the coaster. You can also use regular printer paper and mod podge to adhere the image to the coaster.
How do you seal pictures on a coaster?
To seal pictures on a coaster, you will need to purchase a clear sealer from a craft or hardware store. Once you have the sealer, simply brush a thin layer over the top of the picture. Be sure to cover the entire surface of the photograph, including the edges. Allow the sealer to dry completely before using the coaster.
How do you create prints on tile photo coasters?
One popular method is to use a stamp for DIY photo coasters. You can either purchase a pre-made stamp, or you can create your design and carve it into a stamp. Once you have your stamp, you simply need to ink it up and press it onto your DIY photo coasters.

Another way to make prints on coasters is to use a stencil. You can either create your stencil or purchase one from a craft store. Once you have your stencil, you'll need to place it on the coaster and then use spray paint or a roller to apply the paint.
You can also create prints on coasters by using a rubber band. Simply tie a rubber band around your finger and then dip it into the paint.
Once the band is covered in paint, you can press it onto the coaster to create a unique print.
How do you Mod podge pictures onto tile coasters?
Modge podge is a type of glue that can be used to adhere pictures onto coasters. To mod podge pictures onto coasters, first, select the pictures you want to use for mod podge coasters. Then, cut the pictures to fit the coasters. Next, apply a layer of homemade mod podge to the coaster, and then place the picture on top. Finally, apply another layer of mod podge on top of the picture. Allow the mod podge to dry completely before using the coasters you made.
ABOUT THE AUTHOR
Olivia Poglianich
Content Strategist
Olivia Poglianich is a nomadic brand strategist and copywriter in the wooden crafts and 3D product design space who has worked with brands such as Visa, Disney and Grey Goose. Her writing has taken her all over the world, from a Serbian music festival to a Malaysian art and culture event. Olivia is a graduate of Cornell University and is often writing or reading about travel, hospitality, the start-up ecosystem or career coaching. Her latest interests are at the intersection of web3 and communal living, both on and offline.


