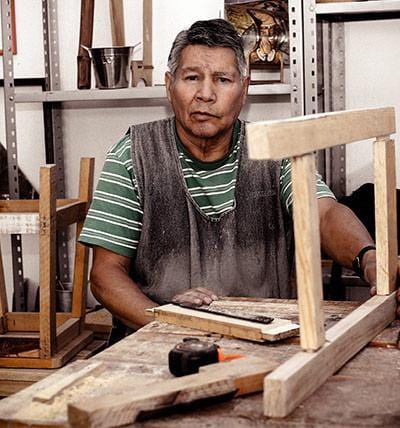
Want to add a touch of class to your home while doing something productive? Let’s make a wooden tissue box. It’s simple, useful, and a great way to showcase your woodworking skills. Here’s how to do it without any fluff.
Why You Need a Wooden Tissue Box
First, let’s be real. A wooden tissue box looks better than the plastic ones you find everywhere. It’s a small upgrade that makes a big difference. Plus, making it yourself means you can customize it to your taste.
What You’ll Need
Materials
- Wood: Pick a durable hardwood—oak, maple, or walnut. It looks good and lasts long.
- Wood Glue: Strong bonding is key.
- Sandpaper: Get various grits (80, 120, 220) for that smooth finish.
- Wood Finish: Varnish or oil to protect your work.
Tools
-
Table Saw or Circular Saw: For cutting pieces to size.

- Miter Saw: For precise angle cuts.
- Drill: For any necessary holes.
- Clamps: To hold everything in place while it dries.
- Measuring Tape and Square: Accuracy is non-negotiable.
Step-by-Step Process
Step 1: Measure and Cut
- Decide on dimensions. A good size is 10” x 6” x 5”.
- Cut your wood into these pieces:
- Top/Bottom: 10" x 6"
- Front/Back: 10" x 5"
- Sides: 6" x 5"
Step 2: Prep the Edges
- Sand the edges with 80-grit sandpaper to remove splinters.
- Move to 120 and then 220 for a polished finish.
Step 3: Assemble
- Start with the bottom piece. Apply wood glue along the edges.
- Attach the side pieces first. Clamp them down to keep everything square.
- Attach the front and back pieces. Use clamps again.
Step 4: Make the Lid
- Cut another piece (10" x 6") for the lid.
- Optionally, extend the dimensions by 1/4" for a slight overhang.
- Sand the edges.
Step 5: Finish It Off
- Sand the entire box once more with 220-grit.
- Apply your wood finish. Follow the instructions—don’t skip this step. It protects your work.
Step 6: Cut the Tissue Opening
- Measure and mark the center for the tissue opening. A 5” x 1.5” rectangle works well.
- Drill holes at the corners and cut it out with a jigsaw.
- Sand the edges to avoid splinters.
Wrap Up
There you have it—a wooden tissue box that you made yourself. This project is straightforward, and it’s a great way to practice your woodworking. Plus, you now have a stylish way to keep tissues handy.
So, grab your tools and get started. This isn’t just about making a box; it’s about honing your skills and creating something useful. Happy woodworking!
ABOUT THE AUTHOR
Nurlana Alasgarli
Content Specialist
Nurlana Alasgarli is a professional copywriter with more than 6 years of creative writing experience. Having lived and experienced all over the world, there are many writing genres that Nurlana follows, including nature, arts and crafts and the outdoors. Nurlana brings life to content creation, captivating her readers.


