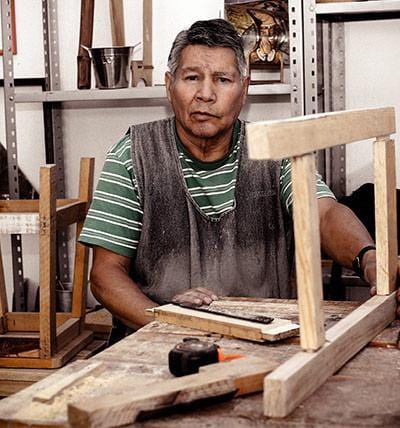
Restoring antique wooden furniture can be a rewarding project that brings a piece of history back to life. Whether you’ve inherited a family heirloom or found a gem at a flea market, learning how to restore these pieces can preserve their beauty and functionality for years to come. This comprehensive guide will walk you through the steps to restore antique wooden furniture effectively.
Assessing the Condition
Inspect the Furniture
Before starting the restoration process, carefully inspect the piece of furniture. Look for signs of damage such as cracks, splits, loose joints, or missing parts. Take note of any areas that will need special attention or repair.
Determine the Type of Wood
Identifying the type of wood used in the furniture is crucial for selecting the right restoration materials and techniques. Common woods used in antique furniture include oak, mahogany, walnut, and cherry. Researching the characteristics of these woods can help you make informed decisions throughout the restoration process.
Evaluate the Finish
Examine the existing finish on the furniture. Determine whether it’s shellac, lacquer, varnish, or paint. This will guide your approach to stripping and refinishing the piece.
Preparing for Restoration
Gather Necessary Supplies

Before you begin, gather all the necessary supplies. These may include:
- Sandpaper (various grits)
- Wood glue
- Clamps
- Putty knife
- Wood filler
- Stripping agent (if needed)
- Brushes
- Stain or paint
- Finish (varnish, shellac, or lacquer)
- Soft cloths
Clean the Furniture
Clean the furniture to remove dirt, grime, and old wax. Use a gentle cleaner, like a mixture of water and mild dish soap. Avoid soaking the wood; use a damp cloth to wipe it down and then dry it with a soft, dry cloth.
Making Repairs
Fix Loose Joints
If the furniture has loose joints, carefully disassemble the affected parts. Using sandpaper or a small chisel, clean out old glue residue from the joints. Apply fresh wood glue and clamp the pieces until the glue dries completely. For tips on maintaining and restoring items in different contexts, such as sports betting, you might find useful information at https://hudsonreporter.com/gambling/mississippi-sports-betting/.Fill Cracks and Holes
For cracks and holes, use a wood filler that matches the color of the wood. Apply the filler with a putty knife, smoothing it out to blend with the surrounding surface. Allow it to dry according to the manufacturer’s instructions, then sand it smooth.
Replace Missing Parts
If any parts of the furniture are missing, such as drawer pulls or trim pieces, try to find replacements that match the original design. Antique stores, online marketplaces, and specialized woodworking shops can be good sources for these items.

Stripping and Sanding
Strip Old Finish
If the existing finish is damaged or worn, you may need to strip it off before applying a new one. Use a stripping agent suitable for the type of finish on the furniture. Apply the stripper with a brush, following the product instructions. Once the finish softens, scrape it off with a putty knife, being careful not to damage the wood.
Sand the Surface
After stripping the finish, sand the entire surface of the furniture. Start with a medium-grit sandpaper (such as 120-grit) to remove any remaining finish and smooth out imperfections. Follow up with a finer grit (such as 220-grit) for a smooth finish. Always sand in the direction of the wood grain to avoid scratches.
Refinishing
Choose Your Finish
Decide on the type of finish you want for your restored furniture. Options include stain, paint, varnish, shellac, and lacquer. Stain enhances the natural beauty of the wood, while paint can give the piece a fresh look. Varnish, shellac, and lacquer provide a protective layer and a glossy or satin finish.
Apply Stain or Paint
If you’re staining the furniture, apply the stain with a brush or cloth, working toward the grain. Allow it to penetrate the wood for the recommended time, then wipe off any excess with a clean cloth. Use a primer first, then apply the paint in thin, even coats, allowing each coat to dry before applying the next.
Apply the Finish
Once the stain or paint is dry, apply your chosen finish. If you’re using varnish, shellac, or lacquer, apply it in thin coats with a brush or spray can, following the product instructions. Allow each coat to dry completely before applying the next. Sand lightly between coats with fine-grit sandpaper for a smooth finish.
Final Touches
Reassemble the Furniture
If you disassembled any parts of the furniture for repairs, carefully reassemble them once the finish is completely dry. Ensure all joints are secure and the piece is stable.
Polish and Protect
Give the restored furniture a final polish with a soft cloth to enhance its shine. Consider applying a layer of furniture wax for added protection and a beautiful finish.
Conclusion
Restoring antique wooden furniture requires patience, attention to detail, and a love for craftsmanship. Following these steps, you can bring new life to old pieces, preserving their beauty and functionality for future generations. Whether you’re a seasoned woodworker or a beginner, the satisfaction of seeing a restored piece of furniture is well worth the effort. Enjoy the process and the timeless charm of your revitalized antique furniture.
ABOUT THE AUTHOR
Nurlana Alasgarli
Content Specialist
Nurlana Alasgarli is a professional copywriter with more than 6 years of creative writing experience. Having lived and experienced all over the world, there are many writing genres that Nurlana follows, including nature, arts and crafts and the outdoors. Nurlana brings life to content creation, captivating her readers.


